


.png)


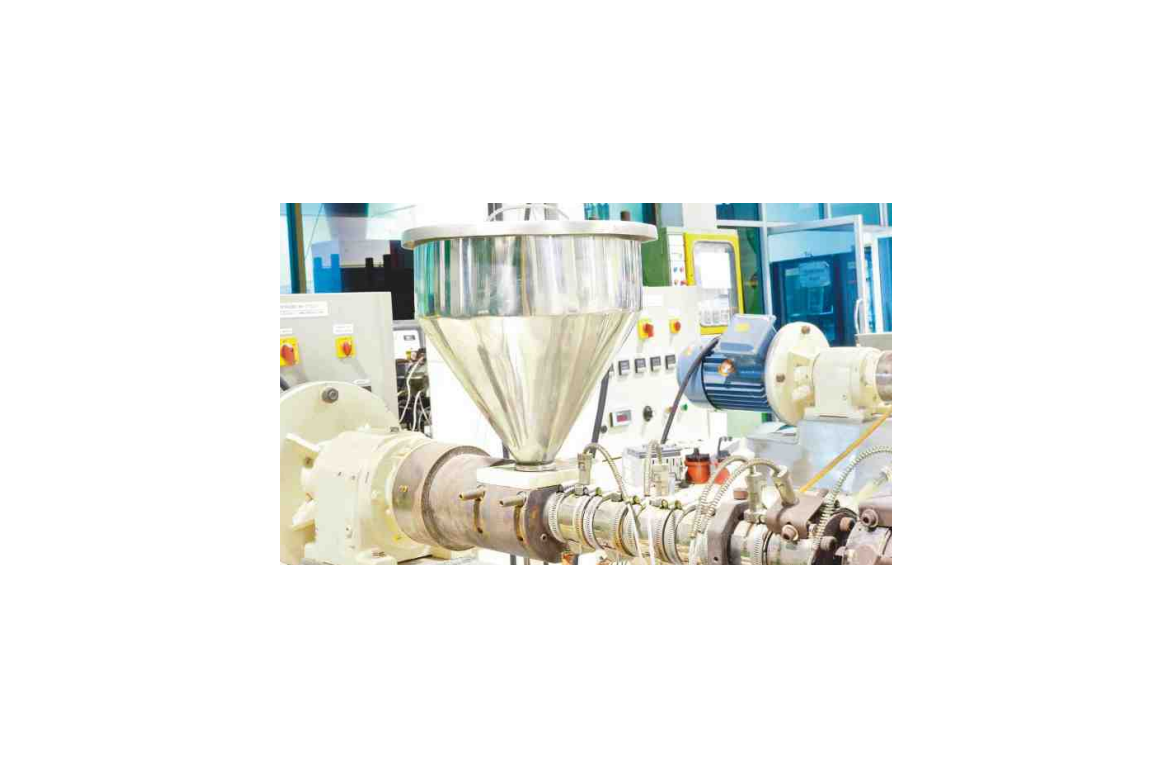
Problem with your Dryer? Drying Plastics
|
- Drying Temperature: Heat is the key to breaking the strong bond between water molecules and hygroscopic polymers. Above a certain temperature, the attraction the water molecules have for the polymer chains is greatly reduced, so that moisture can be drawn away by dry air Before looking for more sinister problems, it is always a good idea to visually inspect a malfunctioning dryer. Pay particular attention to air filters and hoses. Blinded filters or collapsed hoses will reduce airflow and compromise dryer performance. Ruptured filters will contaminate desiccant, inhibiting its ability to adsorb moisture. Frayed hoses may draw wet ambient air into the drying circuit, causing premature desiccant loading and high dewpoints. Poorly insulated hoses or hoppers may compromise the drying temperature.
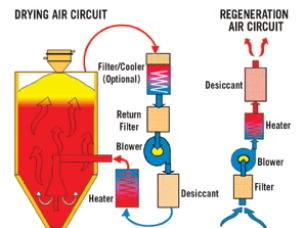
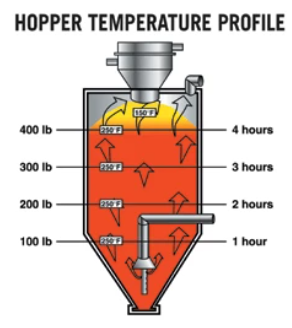
Regeneration & coolingDesiccant has a finite moisture capacity, so its adsorbed moisture must be purged by regeneration. As shown in Fig. 1, ambient air is drawn through a filter and into a blower that directs it through a set of heaters. Heated regeneration air is passed through the desiccant bed, which releases its adsorbed moisture as the desiccant’s temperature rises. Moisture-laden regeneration air is purged to the atmosphere. The hot regenerated desiccant must be cooled before being moved back into the drying circuit to ensure that it can remove moisture from the drying air. Dewpoint readings can help diagnose several problems, so monitor the drying-air dewpoint throughout an entire dryer cycle. Normal dryer operation should produce a straight-line dewpoint reading in the –20 to –50 F range. Small fluctuations at desiccant changeover are acceptable. If your dryer is functioning properly, you should see a dewpoint at the dry-air inlet at least 30°F lower than at the return-air exit. (Fig. 3, lines A and B). On the other hand, dewpoint spikes immediately after desiccant switchover (line C) indicate that the desiccant was not sufficiently cooled before being brought on-line. Hot desiccant will not adsorb moisture well until it cools down, after which the dewpoint should drop to the proper level. Improperly cooled desiccant can result in temperature spikes harmful to heat-sensitive materials like ionomers, amorphous polyesters, and some grades of nylon. If you see good dewpoint readings immediately after desiccant beds are switched, but dewpoint rises rapidly before the desiccant cycle ends, this may indicate that ambient air is leaking into the closed-loop circuit and causing premature loading of the desiccant. Other possible causes are incompletely regenerated or contaminated desiccant. A dewpoint reading that is consistently near the return-air dewpoint reading indicates a totally inactive regeneration circuit or badly contaminated desiccant. Common dryer problems- Poor airflow caused by clogged filters Installing a Dew Point Transmitter to a DesiccantDryer Ideally, the dew point sensor should be installed before the heater and the hopper to measure and control the dew point of the air that is passed over the plastic material. If the transmitter is installed after the heater, a direct process installation is not always possible due to high air temperature, and a sampling system is needed. The sampling system cools and, if needed, filters the air sample before it flows to the sensor. If the process is operating in low or ambient pressure, a pump is required in the sampling system to draw the air sample from the process. Installing a Dew Point Transmitter After the HopperThe temperature inside the hopper may exceed 300 °C for several hours. For this reason, if dew point measurement from the hopper is needed, a sample air flow should be extracted and cooled prior to bringing it into contact with the dew point sensor. The air in the hopper may contain volatile compounds evaporating from the plastic granules. Typically their molecular size is relatively high so they do not affect the measurement. Monitoring dew point at the hopper outlet in addition to measurement at the dryer allows the operator to optimize the drying time. Once the measured dew point has stabilized to a pre-defined low enough level, the cycle is considered complete. Prolonging material delay in the hopper does not improve drying. Monitoring the dew point of incoming and outgoing air at the hopper ensures that conditions for the drying process remain optimal for the whole duration of the drying cycle. |


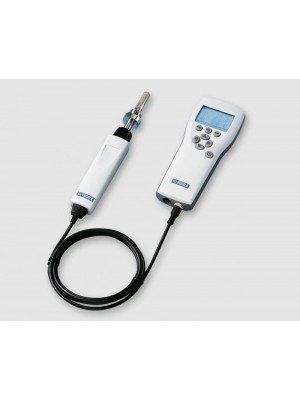 DM70 handheld meter for spot-checking
All comments